How to Install and Set Up Imprint Basic Edition for Mac Step by Step Guide
- admin67410
- May 1
- 3 min read
Getting started with Imprint Basic Edition is straightforward when you follow the right steps. This guide walks you through the entire process of installing and setting up the software so you can manage your Kindle Direct Publishing (KDP) royalty and payment data efficiently. Whether you are new to Imprint or just need a refresher, this step-by-step tutorial will help you get up and running quickly.
Step One: Locate Your Downloaded File
After downloading Imprint Basic Edition, the first step is to find the installation file. This file is usually saved in your Downloads folder on your computer. The file name will look something like this:
```

Make sure you know where this file is located before moving on to the next step.
Step Two: Run the installation
Simply Drag and Drop the Imprint Basic file into your applications folder.

Then double click to launch the application.
Because this is a file downloaded from the Internet, you get a standard warning message. Just click OK.

Then the Imprint Basic Setup Wizard will appear.

Here you can set up your publisher details or, if you are moving to a new computer, you can restore your database from an encrypted backup.
NOTE: It is CRUCIAL that you set your home currency correctly on this screen as you cannot change it once the system is installed. This should be set to the currency that Amazon pay your royalties in.
And that is it. Your mac version of Imprint Basic is installed and ready to use.
Step Three: Running Imprint for the First Time
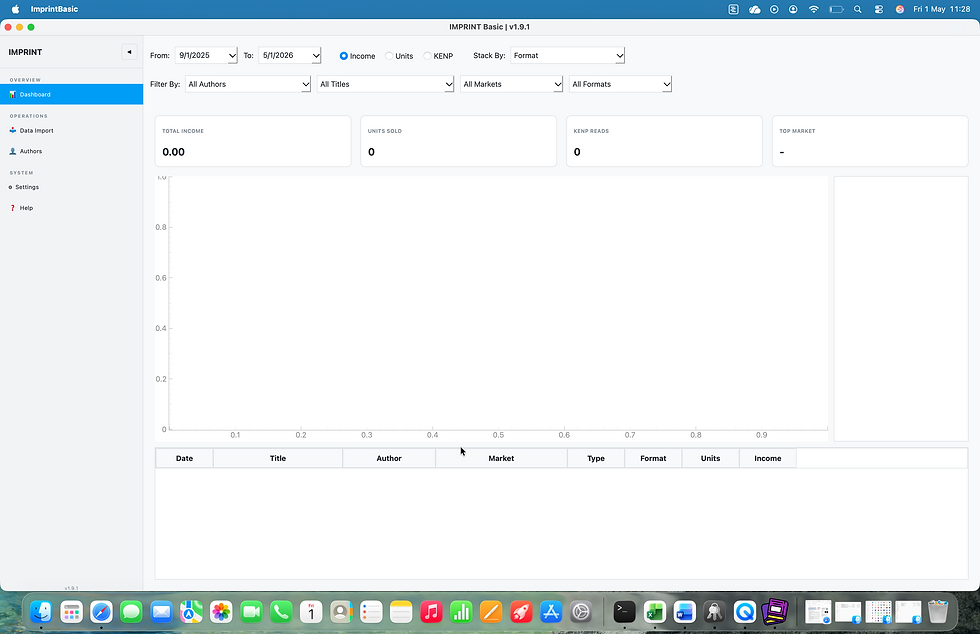
When Imprint opens you can see that the dashboard is currently empty. You have several buttons on the left hand side navigation bar:
Data Import - this is where you import your KDP royalty spreadsheets and your KDP Payment spreadsheets (used for currency conversions).
Authors - On this screen you store author details such as Name, Email Address, Royalty Split, Author Currency and any advances owing to the author. You also generate statements from here.
Settings - On this screen you can change the system settings including publisher details (but not publisher currency - that is locked at install. If you make a mistake you will need to reinstall the application). You can also check for updates from this screen.
Help - Links to support documentation.
Step Four: Download Your KDP Statements
Before you can import data into Imprint, you need to download your royalty and payment statements from your Kindle Direct Publishing account.
Log in to your KDP dashboard.
Scroll down to the Statements section.
Download all royalty and payment statements for each month you want to track.
Payment statements are optional but recommended for accurate currency conversion.
Step Five: Import Royalty Files into Imprint
Return to the Imprint application and find the Batch Import Royalty Files (XLSX) button.
Click this button and select all the royalty files you downloaded from KDP.
Press OK to start the import.

Imprint will display a message showing how many files were successfully imported.

Step Six: Import Payment Files for Currency Accuracy
Next, click on the Batch Import Payment Files button.
Select all the payment files you downloaded.
Importing these files ensures that Imprint uses the correct exchange rates for your transactions.
If you skip this step, Imprint will apply default exchange rates, which may not be accurate.

Step Seven: Manage Authors in Imprint
After importing your data, click on the Authors tab located in the left sidebar.
You will see a list of authors extracted from your KDP data.
Select the first author in the list to review or edit their details.
You can set legal name, email, royalty percentage, advance amount and currency here.

Then, click into your Dashboard.
And That Is That!
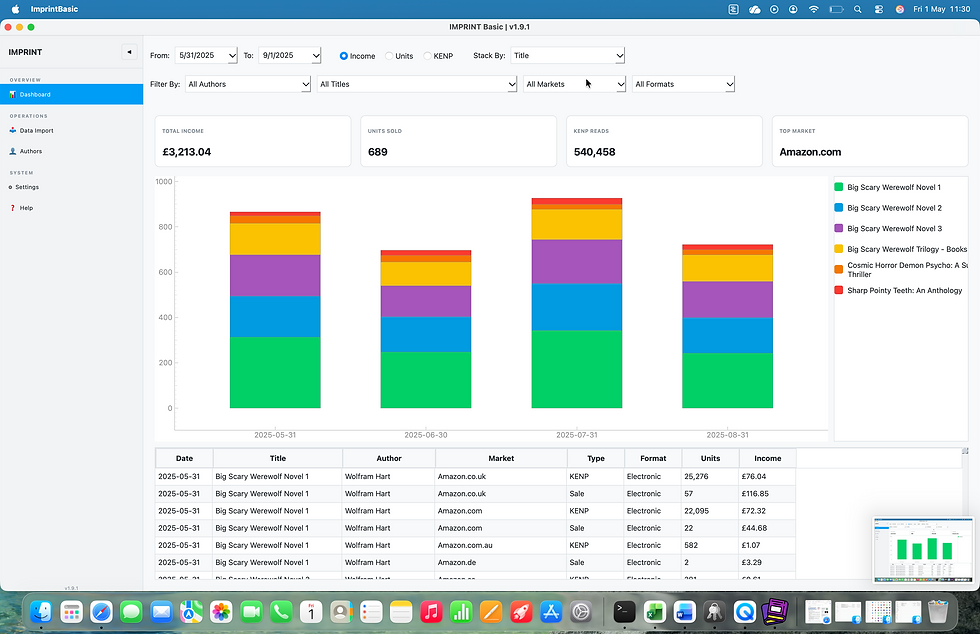
Click on Dashboard view your data.
Select a Date Range and / or Authors to generate royalty statements.
Work out what you will do with all of your spare time


Comments